

Here is a step-by-step guide to install Laravel application with Nginx web server and php-fpm on EC2 instance using Amazon Linux 2 AMI.
Pre-requisites:
- Launch an EC2 instance with Amazon Linux 2 AMI.
- SSH into the instance
Install Nginx
Amazon Linux Extras repository comes with nginx software package for easy installation of the latest stable version.
To list the package available, run
$ sudo amazon-linux-extras | grep nginx
The output should be something like below.
To install the package, run
$ sudo amazon-linux-extras install nginx1


Once the dependencies are resolved, installation information will be listed as below and asks for confirmation. Make sure, the Version column is showing the latest version. Type y for confirmation and hit Enter.
Nginx is successfully installed.
To start nginx service run
$ sudo service nginx start
To test nginx is running as expected, browse the public DNS mapped to the EC2 instance in thebrowser and you should see nginx welcome page like below.
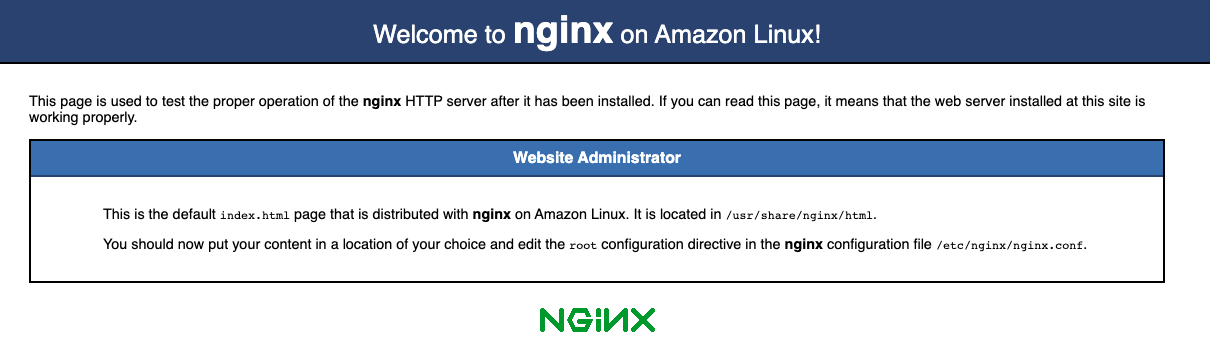
This page also lists the document root (/usr/share/nginx/html) where source code to be saved and the nginx configuration file path(/etc/nginx/nginx.conf). Save these two paths for next steps.
Install PHP7.3
Find the php7.3 package in amazon linux extras.
$ sudo amazon-linux-extras | grep php7.3

To install the package, run
$ sudo amazon-linux-extras install php7.3
It will install php7.3 with listed extensions.

Confirm the installation by typing Y in the confirmation dialog.
Laravel application also would need a couple of other php extensions like mbstring and xml. Refer to the server requirements in Laravel docs.
Let’s install them.
$ sudo yum install php-xml php-mbstring

Make sure right versions are listed before confirming the installation.
Start fpm and restart nginx
$ sudo service php-fpm start
$ sudo service nginx restart
Install composer
$ php -r "copy('https://getcomposer.org/installer', 'composer-setup.php');"
This will download composer-setup.php to the current directory.
Install composer in the global folder.
$ sudo php composer-setup.php --install-dir=/usr/local/bin --filename=composer
Composer is ready to be used.
Laravel Installation
Let’s follow laravel docs for application installation.
Download laravel installer using composer.
$ composer global require laravel/installer
Add composer’s global vendor bin in $PATH to be able to use laravel command from anywhere.
$ export PATH=$PATH:/home/ec2-user/.config/composer/vendor/bin/
Create new laravel application in your preferred directory
$laravel new test
Configure nginx for laravel
In the Nginx conf file, replace the server block with below code and save the file. Please note root is pointing to the laravel application’s public folder path.
$ sudo vi /etc/nginx/nginx.conf
server {
   listen 80;
   server_name _;
   root /usr/share/nginx/html/test/public;
   add_header X-Frame-Options "SAMEORIGIN";
   add_header X-XSS-Protection "1; mode=block";
   add_header X-Content-Type-Options "nosniff";
   index index.php;
   charset utf-8;
   location / {
     try_files $uri $uri/ /index.php?$query_string;
   }
 location = /favicon.ico { access_log off; log_not_found off; }
 location = /robots.txt { access_log off; log_not_found off; }
 error_page 404 /index.php;
 location ~ \.php$ {
   fastcgi_pass unix:/var/run/php-fpm/www.sock;
   fastcgi_param SCRIPT_FILENAME $realpath_root$fastcgi_script_name;
   include fastcgi_params;
 }
location ~ /\.(?!well-known).* {
   deny all;
 }
}
Finally, to set the right directory permissions to storage and bootstrap/cache in the application as per the docs, let’s change the owner of these directories to be nginx (web server)
$ sudo chown -R apache:apache storage/
$ sudo chown -R apache:apache bootstrap/cache
Your laravel application is ready to be used.